Your relationships board serves as a CRM view for managing your seeding funnel. By default, it is divided into 5 key stages of your conversation progression with Influencers:
Prospects: Influencers who are saved but haven’t been reached out to yet.
Reached Out: Influencers you’ve contacted through email drips.
In Conversation: Influencers who have responded and are actively engaged in discussions.
Onboarded: Influencers you’ve successfully partnered with.
Rejected: Influencers who didn’t align with your partnership goals.
Movement between the first three stages in SARAL is automated based on simple triggers:
Prospects – When you add an influencer to a list, they’re automatically placed here.
Reached Out – Once an email drip is sent, they move to this stage.
In Conversation – When the influencer replies, SARAL moves them here automatically.
From this point, you can manually update the status to:
Onboarded – If they agree to collaborate
Rejected – If they decline or don’t move forward
Custom stages let you personalize your Relationships Board to better reflect your team’s workflow, processes, or partnership types.
For example:
Running paid collaborations? Add stages like Contract Sent or Contract Signed to track legal steps.
Reaching out via social media? Add a DM Sent stage to track those leads.
These custom stages give your team the flexibility to structure pipelines in a way that fits your unique program — whether you're handling gifting, affiliates, paid partnerships, or a mix of all three.
Go to your Settings > Preferences.
Scroll down to 🧮 Custom Relationship Stages and toggle the icon on.
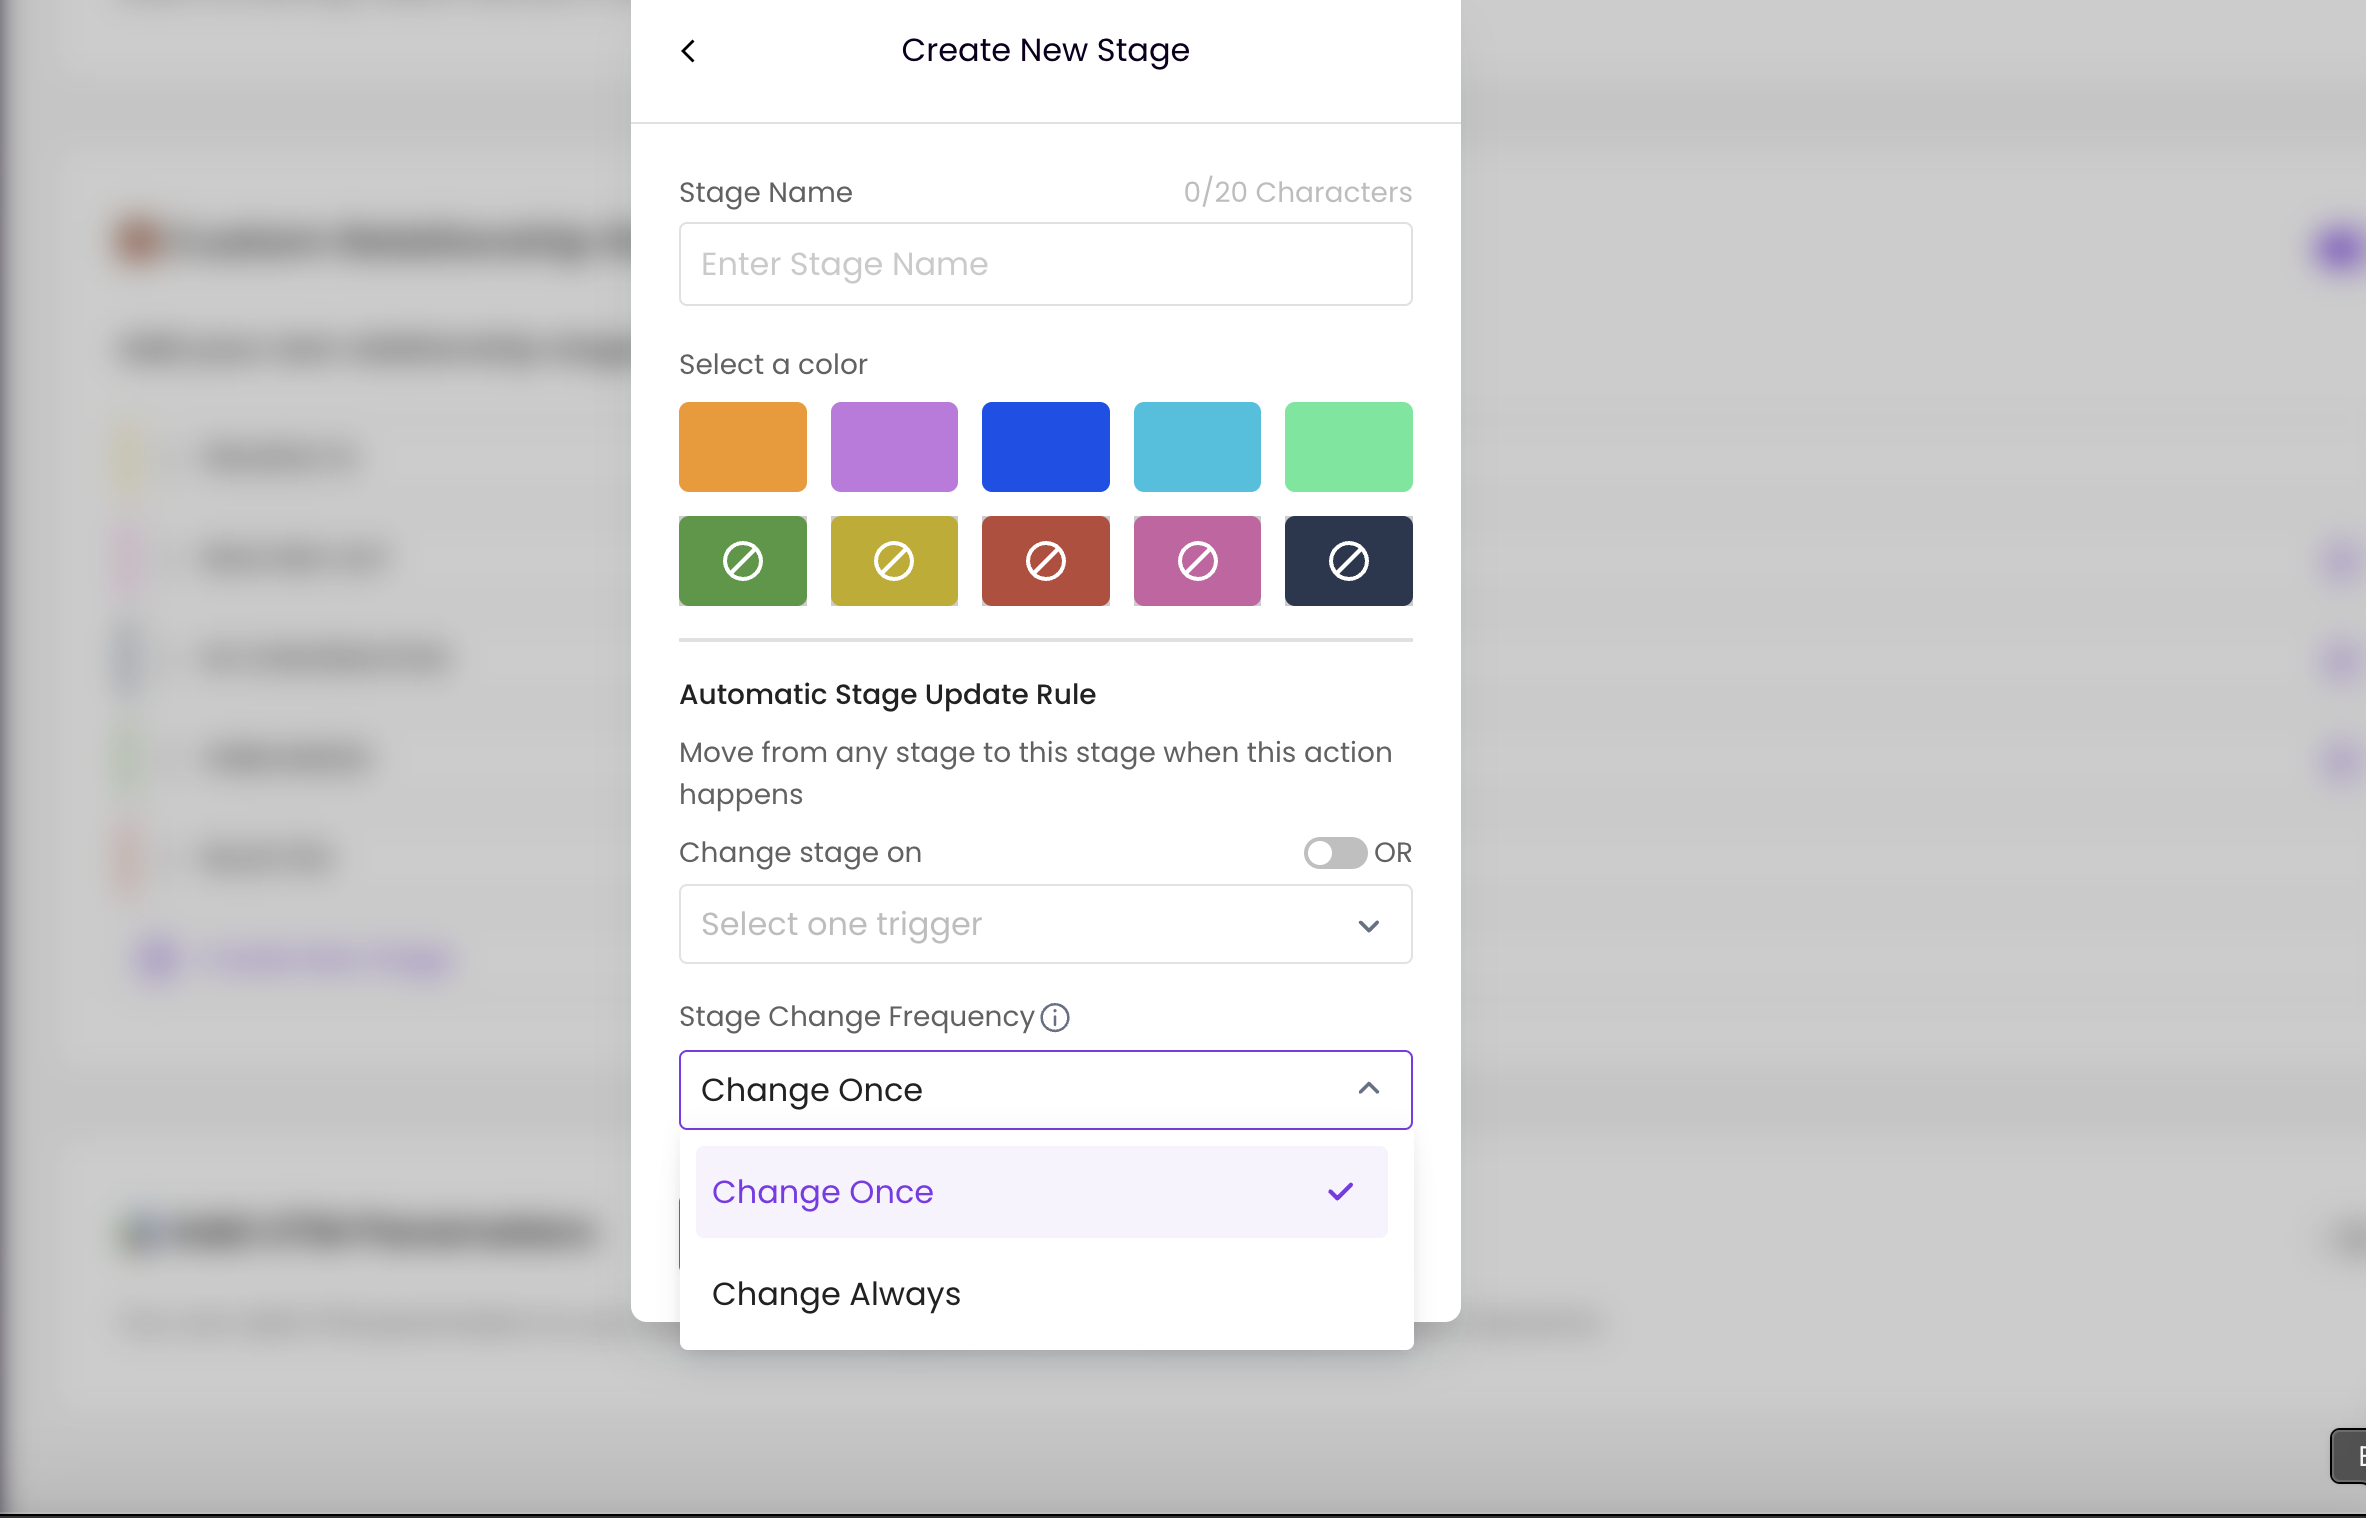
Create a New Stage, label it, assign a color, and then follow the on-screen instructions.
Need help visualizing it?
Check out this quick tutorial on how to customize your Relationships Board 👇

Once your custom stages are set up, you can automate your workflow by automatically moving influencers between stages based on specific actions.
For example, when a contract is signed, influencers will automatically move to the next relevant stage — no manual updates needed.
Here's how to set it up:
Go to Settings > Preferences > Custom Relationship Stages.
Click on the stage you want to automate.
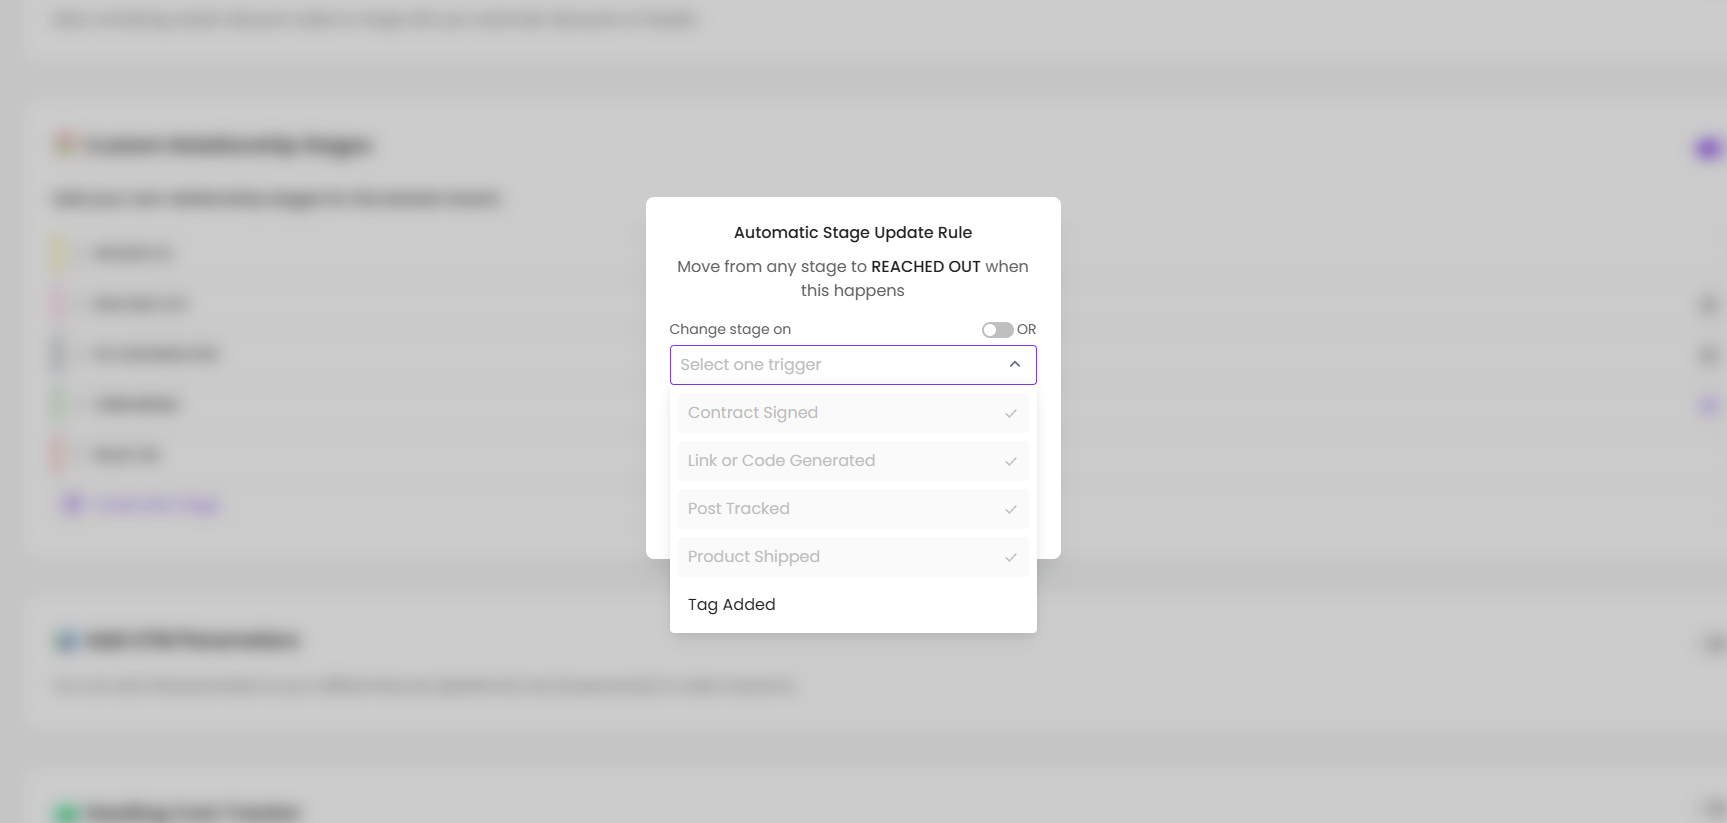
Choose the condition(s) that will trigger movement. Available automation triggers:
Email Sent
Reply Received
Contract Signed
Link or Code Generated
Post Tracked
Product Shipped
Tag Added
Set the rules that match your workflow, and SARAL will handle the rest!
'Change Once': Moves influencers to a stage only once (e.g. after shipping) to prevent accidental shifts.
'Change Always': Automatically moves influencers to a stage every time the condition is met.
This automation ensures influencers are always in the right stage at the right time based on criteria you set. With these powerful customization options, you can optimize your Relationships Board to better align with your goals and keep things running smoothly.
Still have questions?
Reach out anytime via the support chat at the bottom-right corner of your dashboard, or email us at [email protected]. We’re happy to assist!