You’ve received a response from your email campaign and need to take a few actions, such as enrolling the influencer in a new email drip, adding notes, generating a discount code, and even shipping a free product. The great news? You can accomplish all of these tasks directly within the influencer Inbox—no more switching between tabs. Yay!🥳
1 — Ship Free Product
Here’s how:
Open the influencer's email.
On the right side of the interface, locate the option to "Ship Free Product."
Click this option to send a gift directly to your creator!


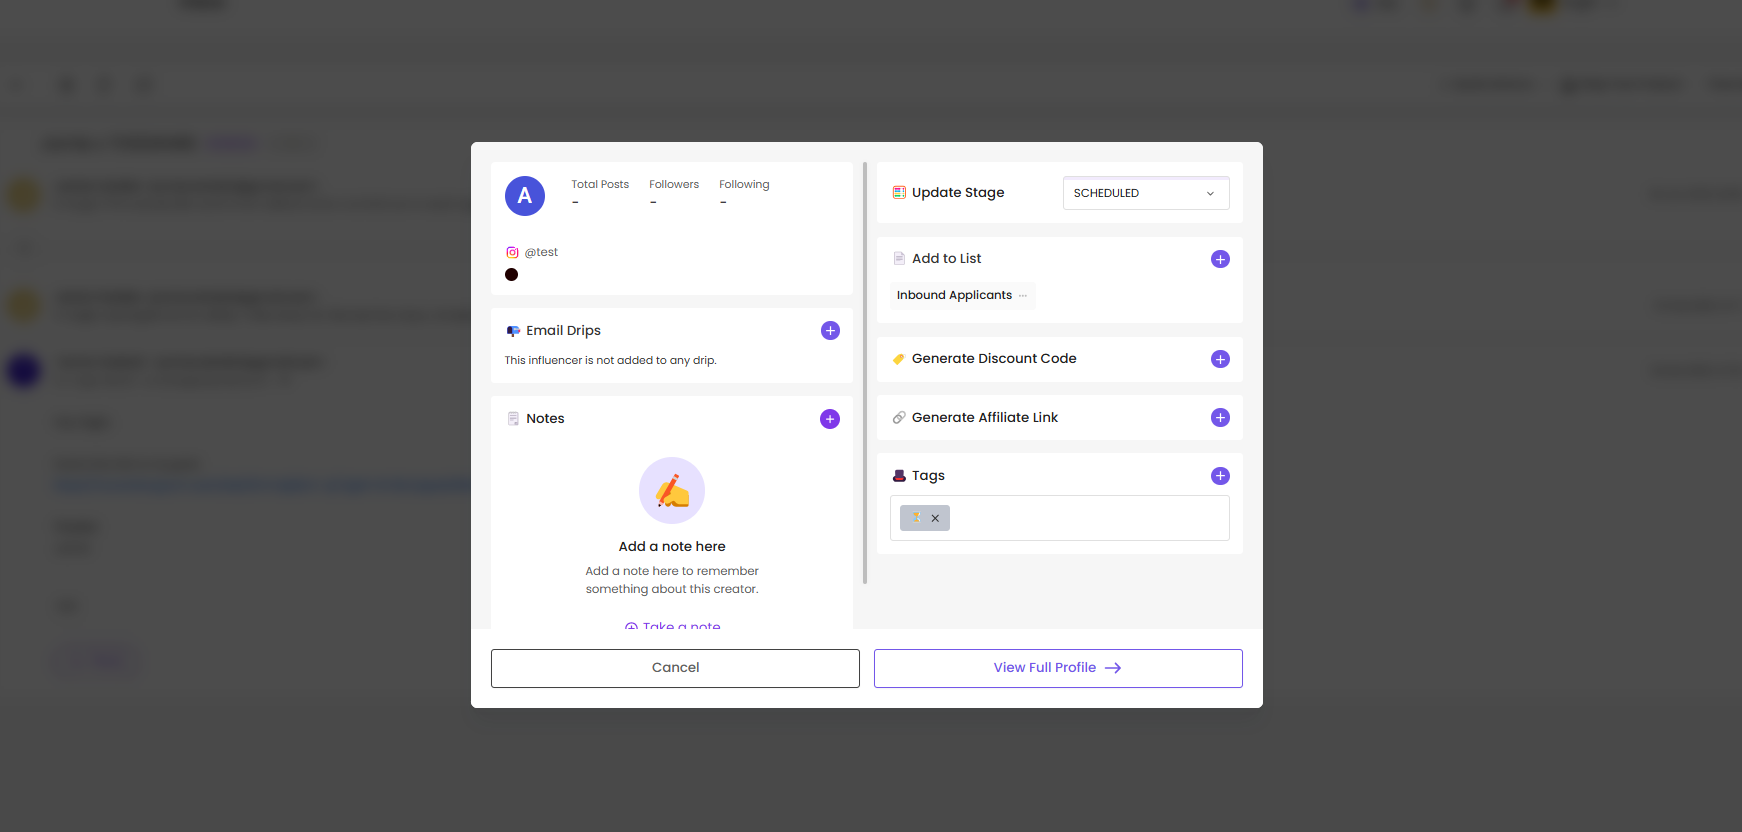
2 — Edit Influencer Profile where you can do the following:
Generate a one-click affiliate link or code without leaving the conversation
Update the relationship stage instantly while chatting with creator
Easily enroll influencer in an email drip
Add Notes instantly
Add influencer to a list
Add influencer a Tag
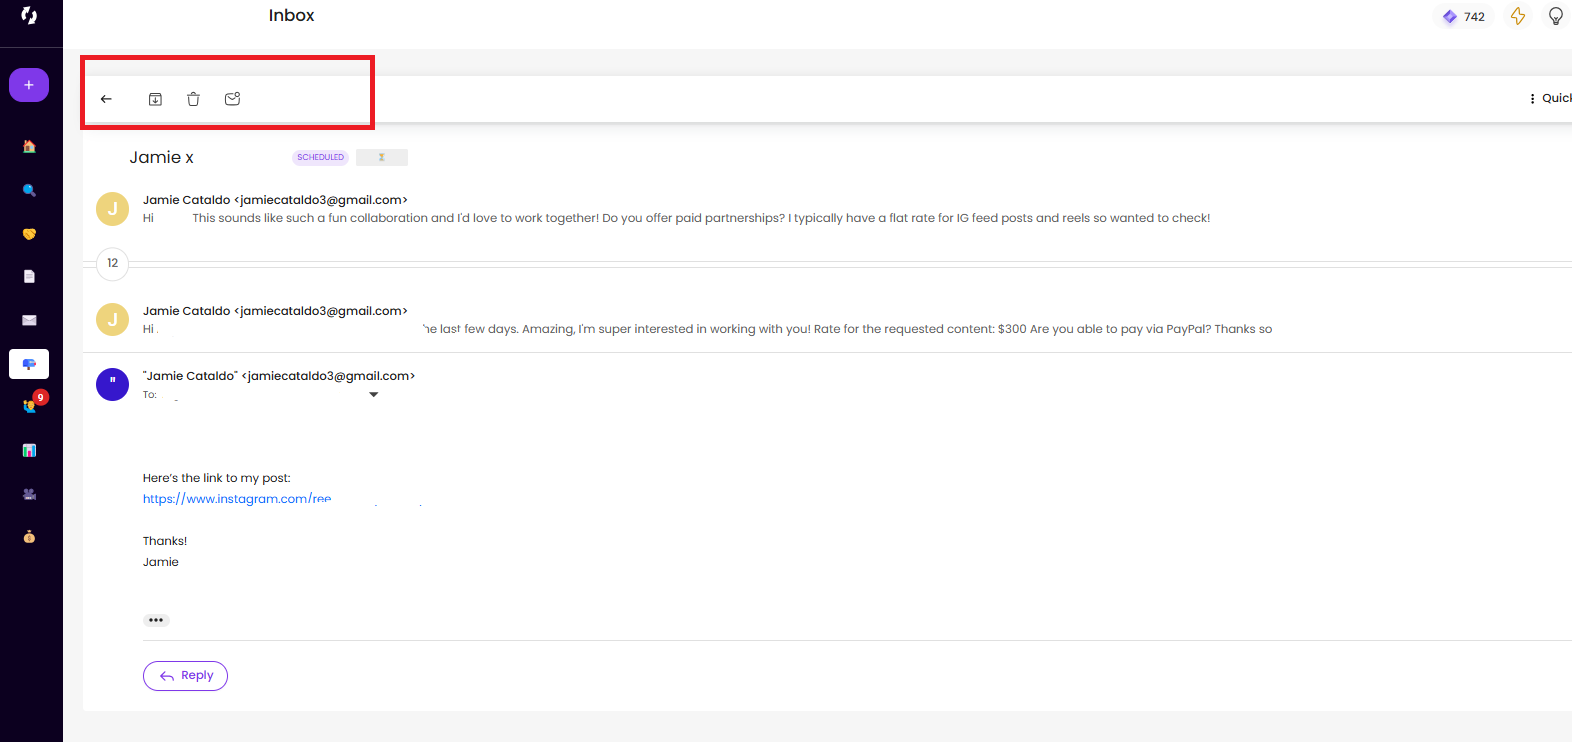
3 — Starred Emails: Just like in any typical inbox, you can “star” an email if it's particularly important to you.
4 — Archive Emails: If an email is too old or no longer needed, click the Archive button at the top of the platform.
5 — Delete or Mark as Unread: If necessary, you can click on Delete, or mark the email as unread if you want to review it later.
This efficient workflow will definitely save you HOURS in managing influencer communications! With all these tasks available within Inbox, you can focus more on building stronger relationships with your influencers instead of getting bogged down by admin work.
When composing an email in the Inbox, simply tick the “Add Signature” to include your saved signature.
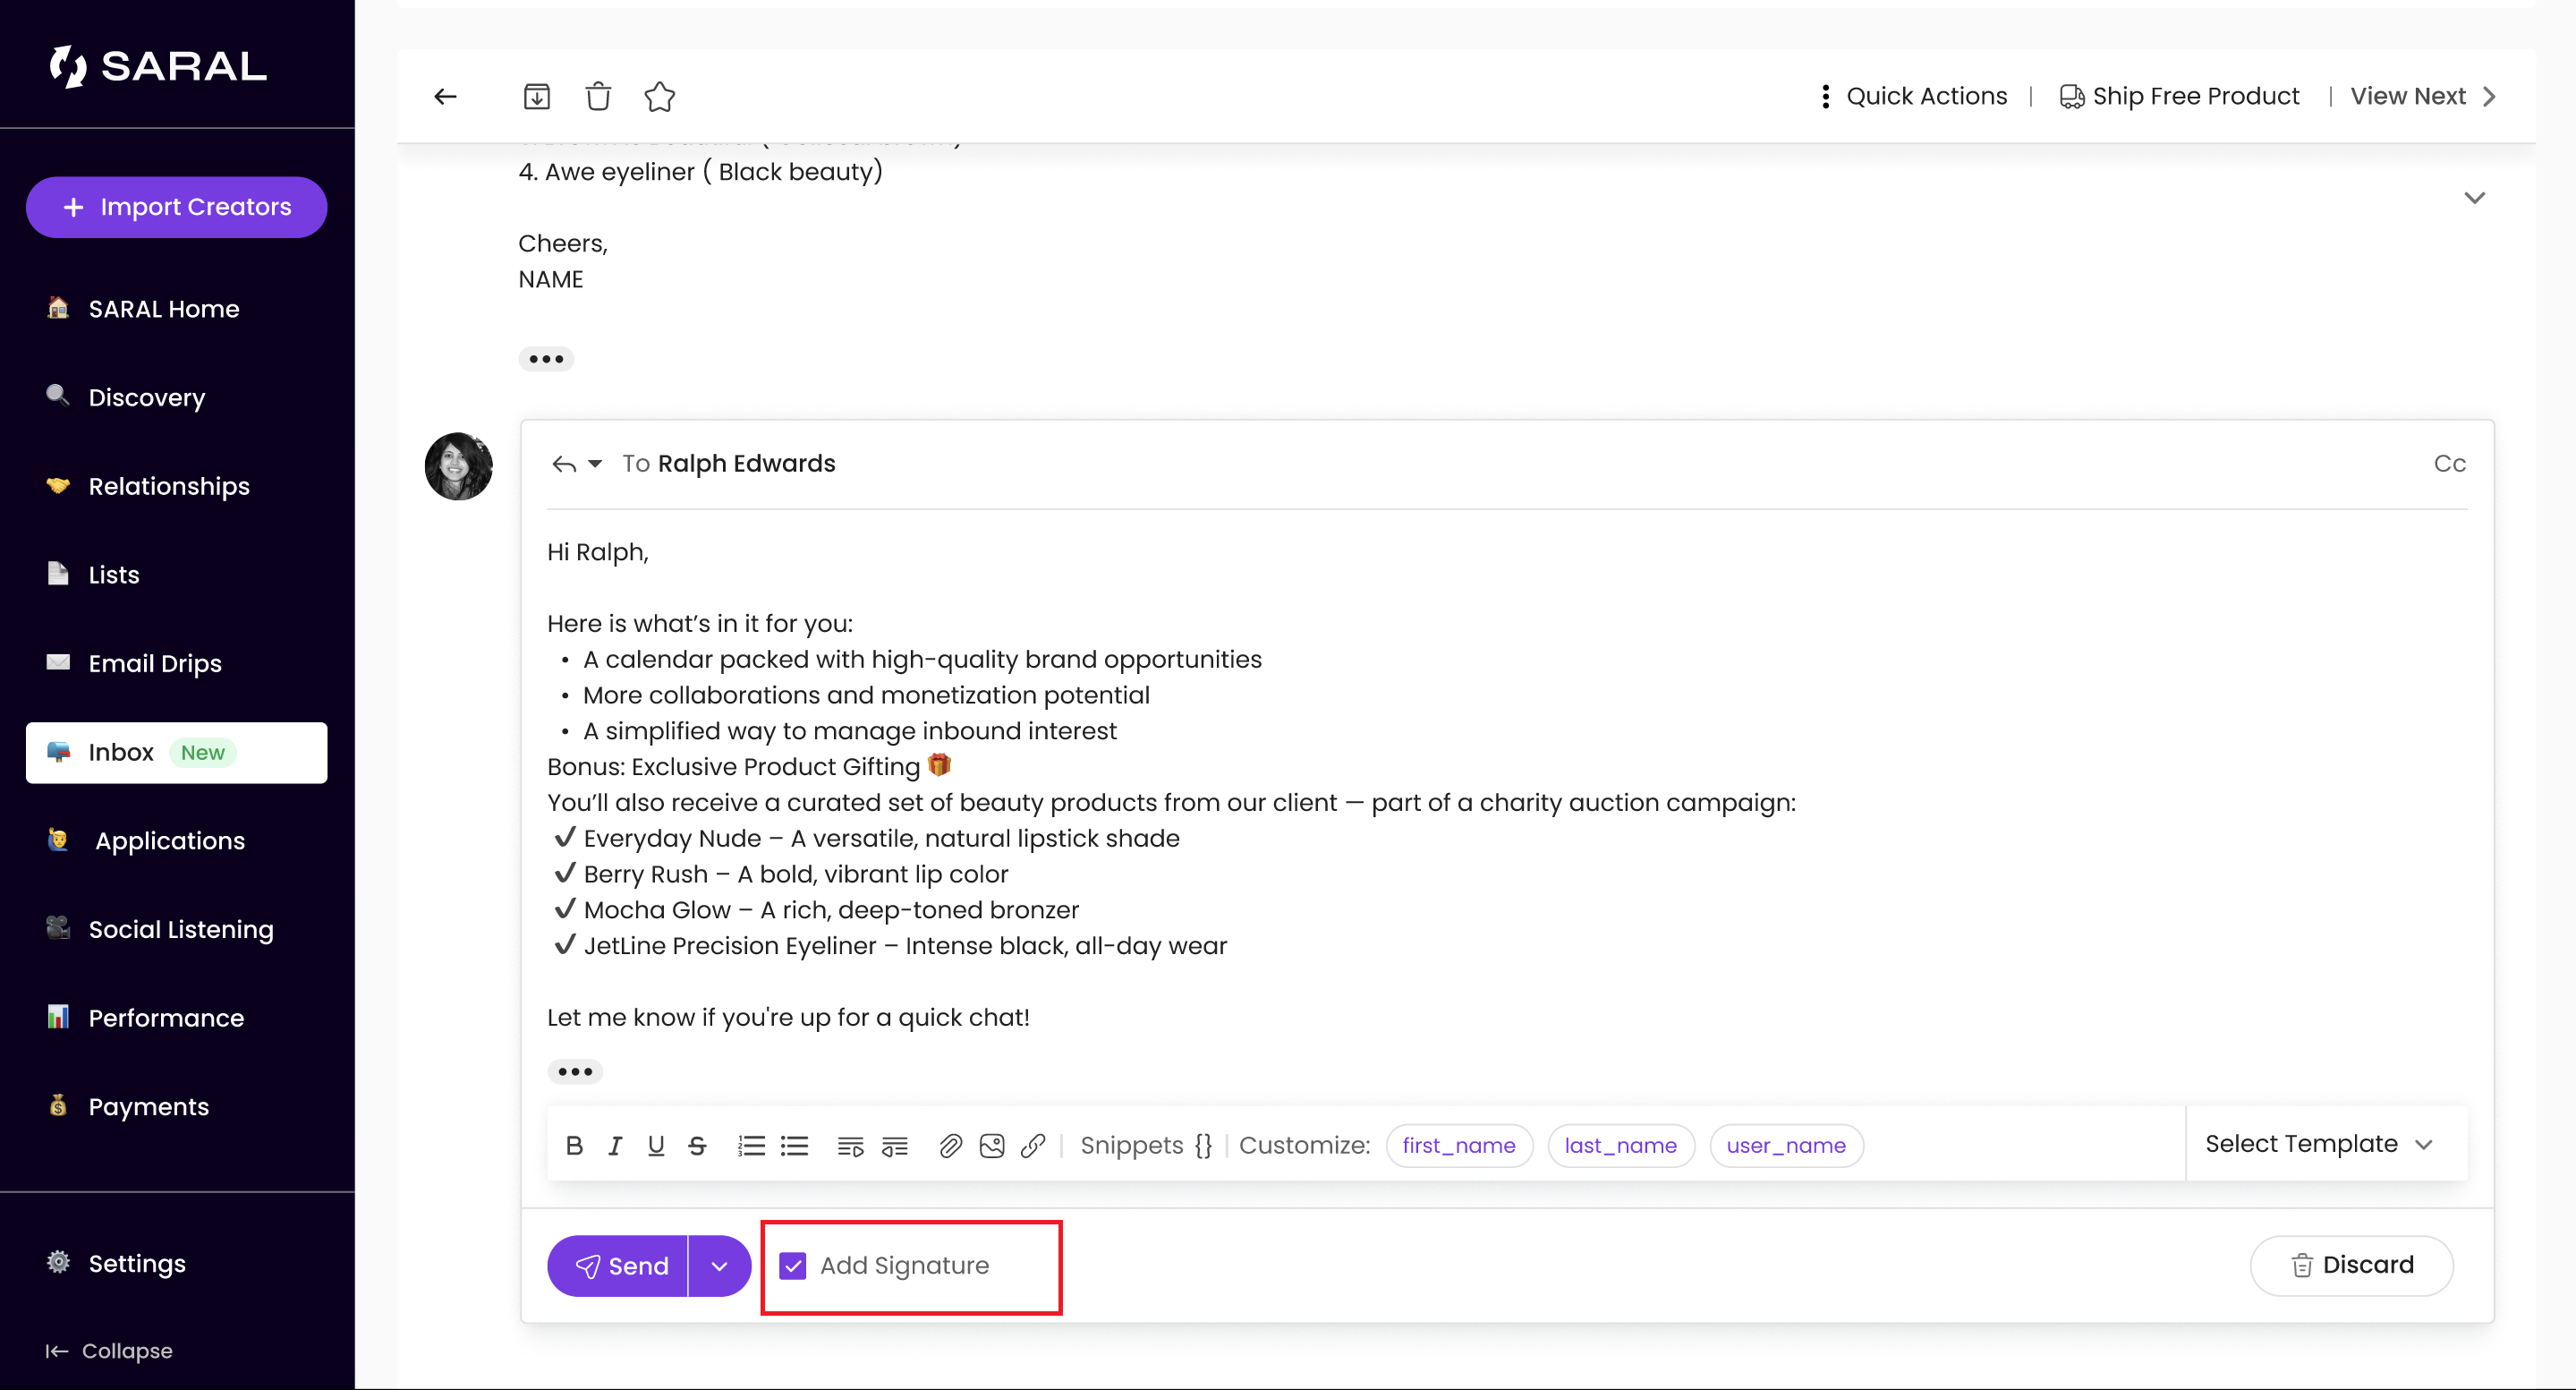
If you haven’t set up your signature yet:
Go to Settings > Connected Emails.
Click the edit icon next to the inbox you want to add a signature for.
Add your signature in the provided field.
Reach out anytime with our helpful Support team using the button at the bottom-right corner of your dashboard, or email us at [email protected].